Add Loan Items and Conditions
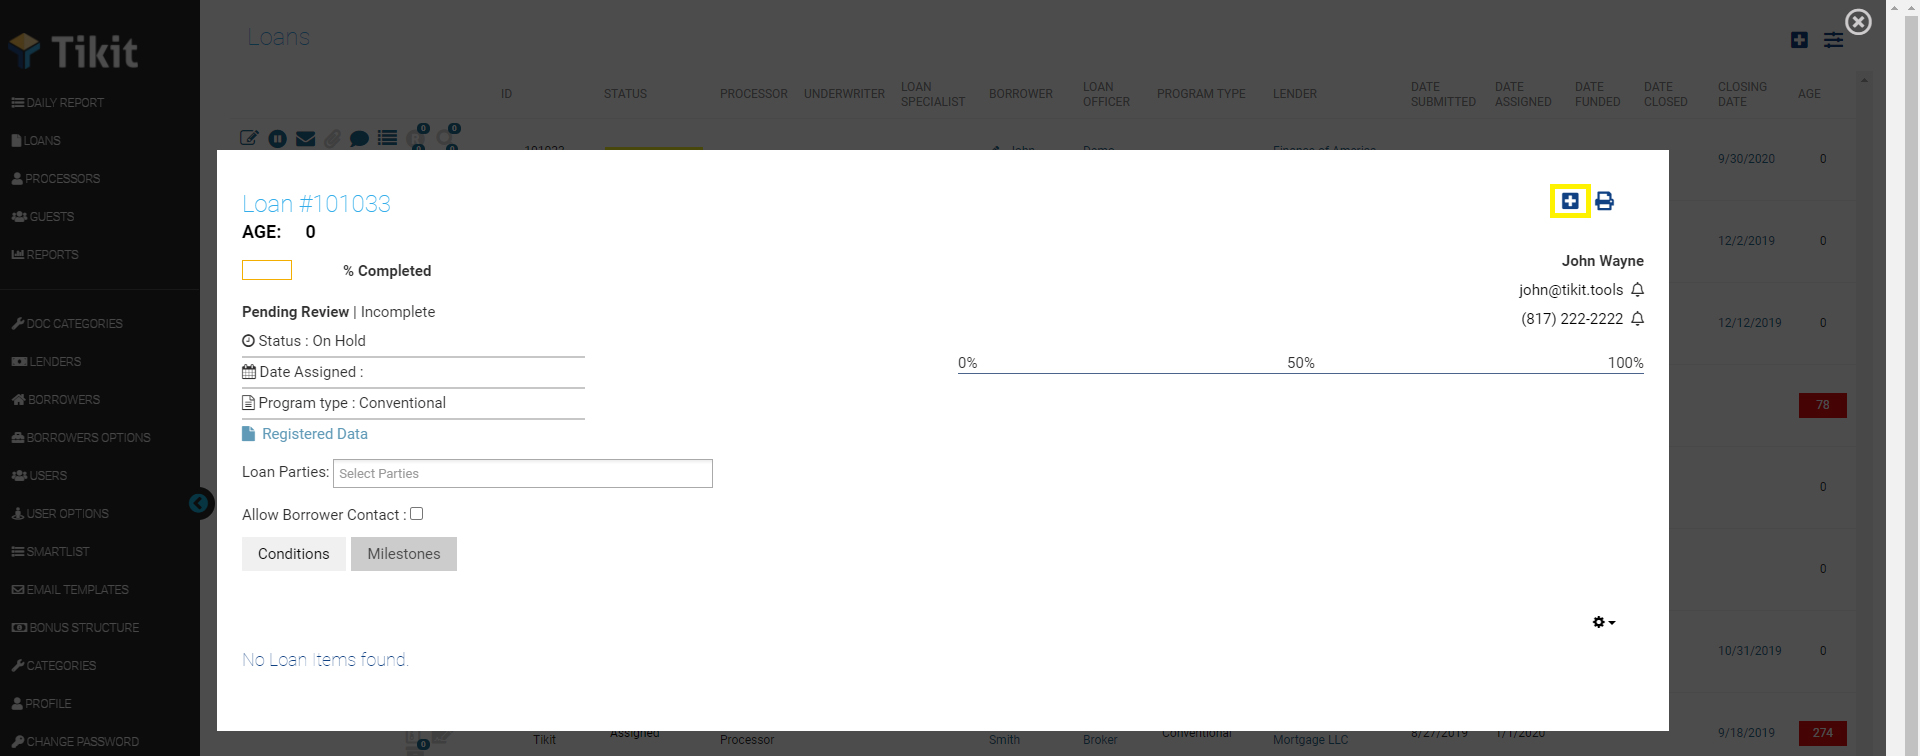
- On the Loans page click
 on the Loan row.
 - Click on the top right corner of the Loan popup window, which will take you to a new page.

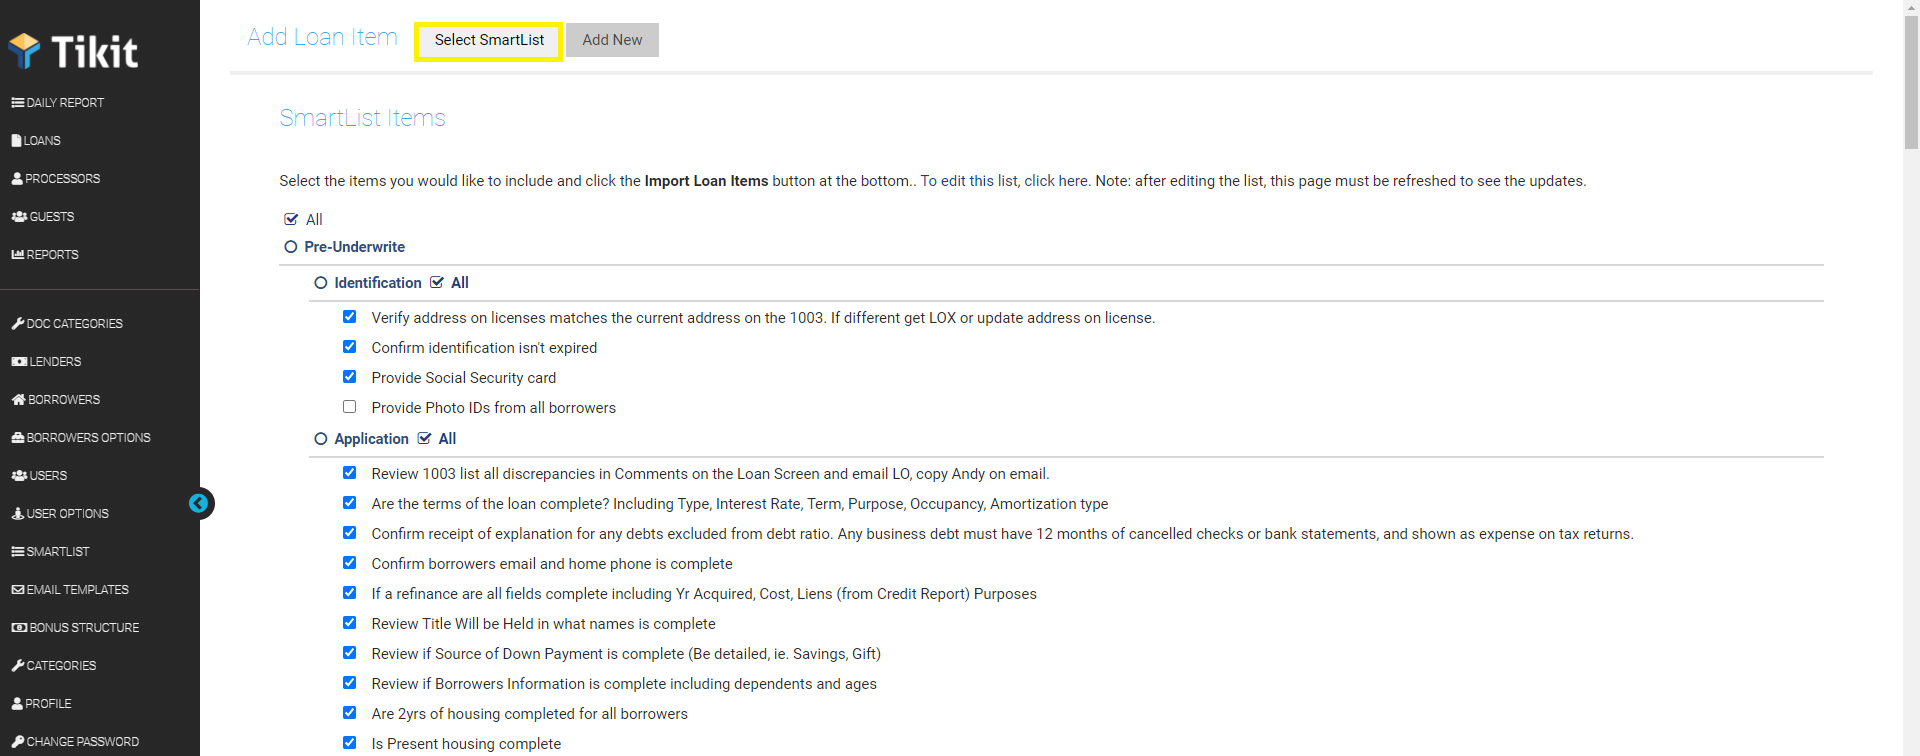
- In the new page you’ll see two tabs. The first tab displays the items already contained in the SmartList. Check or uncheck individual items, or entire categories, then click the Save button at the bottom. Note: these are not saved in the loan itself until you check some and click the Save button at the bottom.
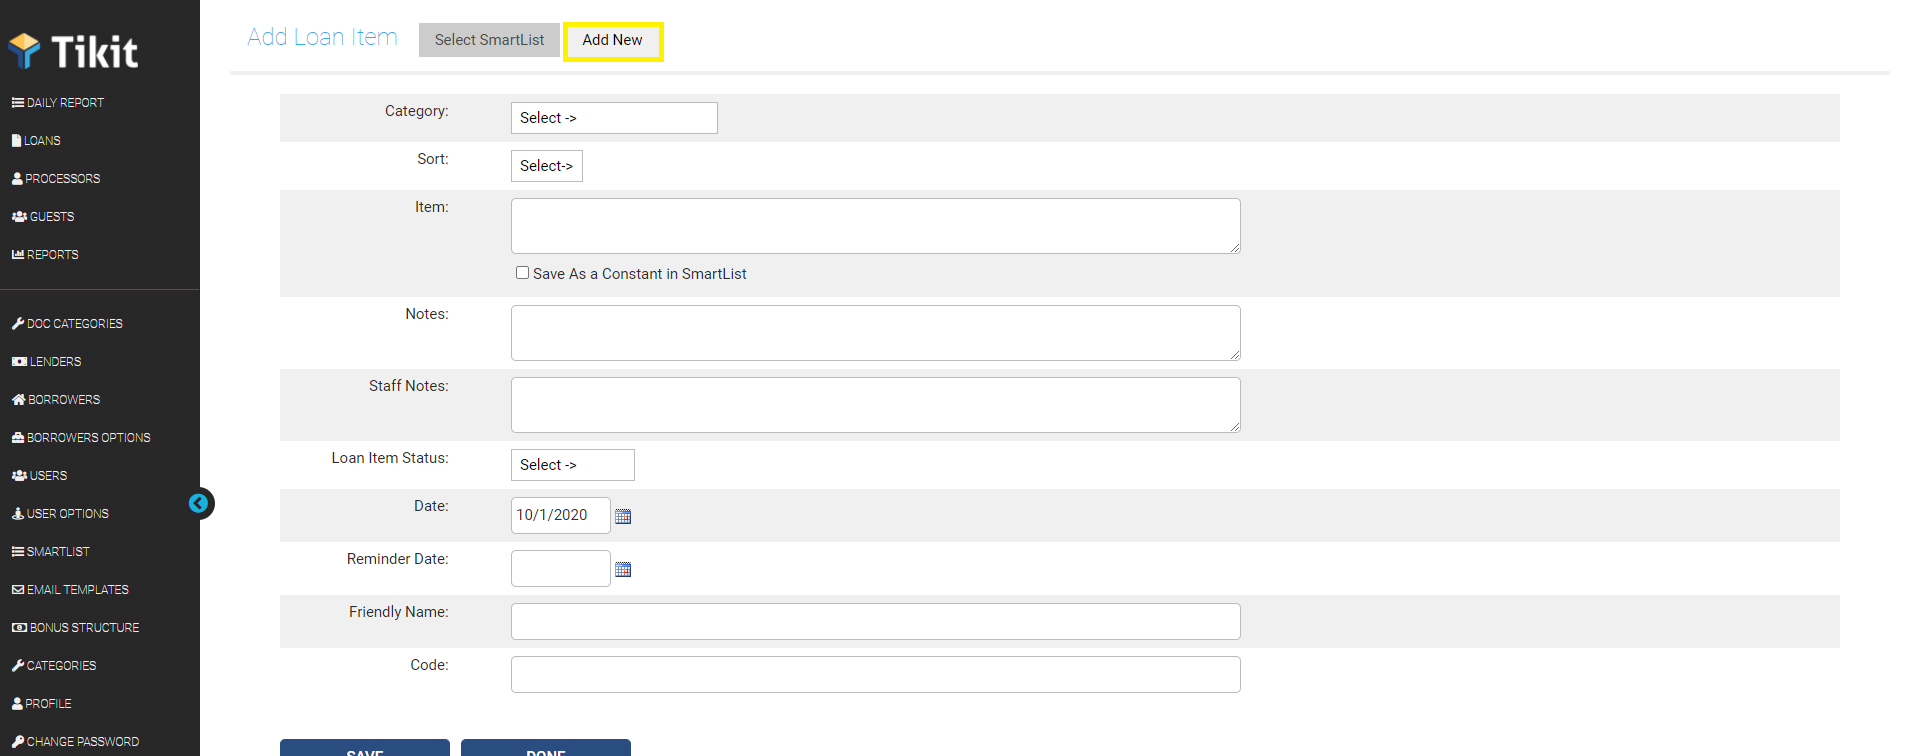
- To add a single item or condition click the Add New tab.

- In the Category field, click to drop down-button to choose which category the loan item should appear in.
- In the Sort field, you can choose the order of the new item in the list relative to other items in that category; e.g. if you choose #3, it will show up as the 3rd item in the Category.
- Fill in the remaining necessary info and click Save. You will be brought back to the same page to add additional items if needed. Afterward, if you are finished adding items, click Done or click another link in the top menu.
For new loans, don’t forget to send the Borrower the Welcome Email using the communication tools and Welcome email template.
- On the Loan page, click
 on the left side to open the communications window. Select the New Loan Welcome Email template and fill in the remaining info or edit as needed.
 - Items and Conditions can be added to the email by expanding the items list, located in the Attachments section (after selecting the email template).
Note: You can edit the welcome email and other templates by clicking the ![]() and clicking Email Templates.
and clicking Email Templates.

